We all know that when you’re trying to build your brand, you have to be consistent. Consistency is the key to success in any kind of business, especially when you’re trying to make it big on social media. And that is why we can’t accept any excuses when it comes to posting content on your social platforms on a regular basis.
You have to keep those blog posts coming, or else the people will lose their interest. People don’t have a long attention span these days, and if you don’t keep posting at least once a week, you will surely be forgotten soon enough – and that can’t be good for your brand.
The good news is you can always create content no matter how busy you are. All it takes is ten minutes! Today, I will teach you how to create content within ten minutes. This is handy for when you’re starting out on your business and you’re still getting the hang of posting consistently at least once a week. Remember that your blog is your voice, selling for you while you’re sleeping. So if you have no time to blog, or you think you can’t type fast enough, or if you think you waste too much time trying to come up with one blog post, then this article is for you.
Step One: Download Evernote
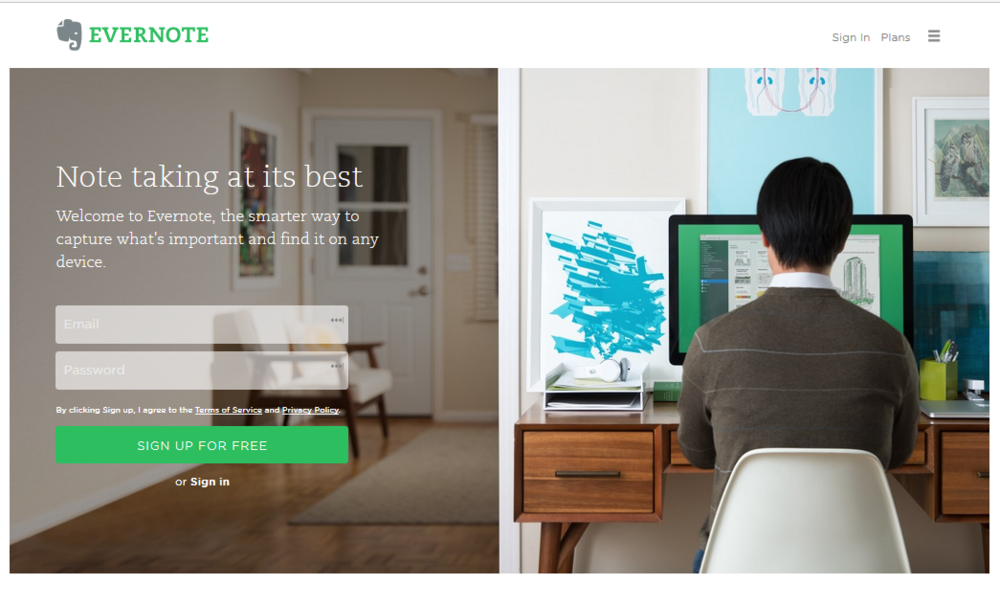
The first thing you need to know in order to make this whole process work is that you need to have Evernote on both your computer and your mobile device. It won’t happen unless you have the application on both, so make sure to download it for both devices now.
The Evernote app is what you will be using to create content in ten minutes (or less, if you do it quickly enough).
The good news is that Evernote is free – they have a paid version, but the free one should do just fine. You can download it into your phone through the Play Store or the App Store if you have an Apple device.
Step Two: Record Your Content
Once you open the app with your phone, you can click on the little plus sign on the right hand corner of the screen. It will give you a lot of options that will help you upload photos, or start a new note. Click on the button that says text notes, and it will give you a clean notebook to type in.
But here’s the trick: instead of typing your content, you can just click on the microphone and start talking into it. This is an amazing tip for business owners because we all need to have thing set in place to save us time. This awesome trick will help you create blogs every day without letting you go through too much of a hassle.
Upon finishing your recording, you will see how Evernote has transcribed all of your words into text. So that means you literally didn’t even have to type a single word! It will take you less than 5 minutes to come up with entire blog posts. Next step is to click the 3 little dots on the screen and hit Save.
Step Three: Open Evernote with Your Computer
Now that you have the note stored in your phone, all you have to do is open Evernote using your computer. Then you simply click on the Sync button and you’re almost ready to go!
Once the sync is completed, you will have your entire blog entry available to you.
Step Four: Edit the Text Post
Of course, you wouldn’t release that content without checking and editing it first, right? All you have to do is make sure you read over it and edit any mistakes that were made through the recording. Sometimes there wouldn’t be a mistake at all, so then all you have to add is the punctuation’s. That should take you only a couple of seconds.
Step Five: Open Canva
Your content is almost ready! Just open Canva and prepare a few graphics for your post and you should be done in an instant.
Canva is an app that you can use to design simple graphics for your social media. It’s very easy to use. Open the app and hit blog title. When the new box opens, you can put in the title of your content and design it all you want. Add in some colors, make sure it’s branded – and there you have it, your content now has an awesome-looking title.
Just copy and paste the paragraph into Canva and your blog post is complete. Through Canva, you can make this blog entry into a social media post. Just hit File, and then choose Magic Re-size. Put a check mark on all the social media platforms you want to post your content to, let’s say Instagram, or Twitter, or Facebook – that depends on you. After that, you just hit Abracadabra!

With one Abracadabra, you will be able to make a blog title for your Twitter post, your Facebook post, your Instagram post – and each one of them in the size required for each platform! You made one graphic for all of them, in under three minutes!
Step Six: Post Your Content
All you have to do now is post that blog entry you created and voila! You are done with your content creation for the entire week.
Remember that you have to be consistent in order to succeed in this business. Sure, it can be difficult sometimes to come up with content especially if you don’t have the time – but now you know how to make content in less than ten minutes! It’s that simple, and it’s that easy. Iv’e created a Content Planning Checklist to keep you maximizing your time. Click the button below and get your FREE checklist!
Do you have any other tips & tricks for saving time when creating content? Post your comments and questions below! I would love to hear it.